No products in the cart.
 - UGE Electronics Egypt")
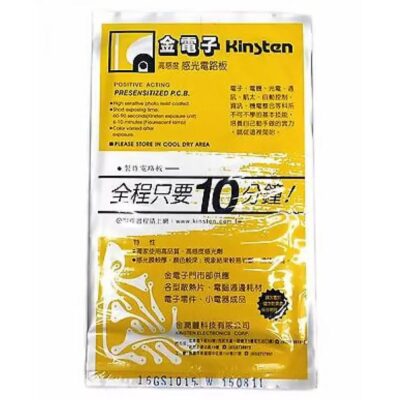
PCB circuit board thermal transfer Heat Toner Yellow paper size A4 (PCB DIY)
In Stock
EGP 5.000 exc. vat
In Stock
Brand:Chinese
Description
Product Description
The best PCB making method should be the toner transfer, this is a material you must have.
Print it with laser machine, you hot laminator machine to transfer the toner to your copper board, be aware to prepare your copper board well with sanding, the last step is etching.
The advantage of using this kind of methods:
- A4 Size
- Very efficiency
- Low cost
- High precision
- Easy to use, less steps compare to corrosion
- 100PCS, this is around 0.6KG, high weight.
How To Use It:-
Great Like to learn how to use it .. Click here
1. Print on the white paper
Get one piece of paper on the top in the paper tray, mark a “A” for direction, next time you will remember to how to put it again in the try with right direction and side.
Print your board file directly on the white paper, we use nanino project, which is very suitable for making home-made arduino. See below.

2. Cut and tape the toner transfer paper
Find where you want to place the toner paper, cut a right size, make sure on the two side of the cut toner transfer paper are little bit longer for taping, because the toner transfer paper is now overlayer on the 4A paper with the front side, so that don’t tape it directly on the toner transfer paper.


Once taped, put the A4 paper with taped toner transfer paper into the paper tray with right direction and side, print it again, you will get, for my printer, the marker is on the back side of the paper:

3. Sand your Copper Board, Re-tape
Sand your copper board with 600 sand paper, until you can FEEL it is very rough. See the picture in step 4 how rough it looks.
Remove the toner transfer paper away from the A4 paper, put the front side towards to the copper board, tape them together. Now it’s no matter where you tape, you can tape directly on the transfer paper to make sure they are firmly locked together.

4. Toner Transfer and Double Check
Turn on the laminator, adjust the temperature to 180-200 degreen, put the board to move in and reverse to move back, in and back, in and back for at least 5 turns. Now it’s done. See the result.
Now you should double check all the lines (traces) to see if all goods, we use a oil black marker to redraw the lines, you can see the words “EDN” (not END :D) for demo

5. Etch
Get hot water, stir the etch solution and etch your board, it’s easy and no more need to mention. Takes around 5 minutes.
Some toner off during washing.


6. Get rid of the rest Toner on the board
Now you the sand paper again now, this time you need more fine sand paper, about 1000, carefully sand it and get final board!
One more step is I used a bigger cutter to cut the rest of the board, easily like cutting cake ![]()
![]() just a quick solution, you get use a PCB cutter.
just a quick solution, you get use a PCB cutter.
Drilling holes we will not mention here anymore, you can also get drill bit at electrodragon.
Looks great ?! It’s very simple, how you like.


Additional information
| Weight | 0.011 kg |
|---|
Brand
Chinese
Chinese

Chinese
You must be logged in to post a review.
DC Current Shunt Sensor 200A
EGP 385.000 exc. vat Read more
PIC18F4620-I/P
EGP 110.000 exc. vat Read more
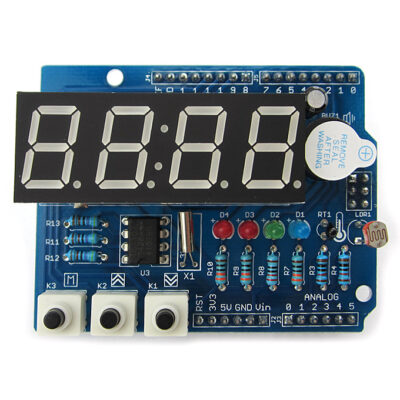
Arduino RTC Clock and 7Segment Display Shield
EGP 180.000 exc. vat Read more
Refund Policy for UGE Electronics “Https://uge-one.com “
1. Returns and Refunds
Thank you for shopping at UGE Electronics “Https://uge-one.com “. If you are not entirely satisfied with your purchase, we’re here to help.
2. Eligibility for Refund
To be eligible for a refund, please make sure that:
– The item was purchased in the last 14 days.
– The item is in the original packaging.
– The item isn’t used or damaged.
3. How to Initiate a Refund
To initiate a refund, please contact our customer support at [[email protected]] or [01066552125]. Provide your order number and details about the product you would like to return.
4. Refund Processing Time
Once we receive your item, we will inspect it and notify you that we have received your returned item. We will immediately notify you on the status of your refund after inspecting the item.
If your return is approved, we will initiate a refund to your credit card (or original method of payment). You will receive the credit within a certain amount of days, depending on your card issuer’s policies.
5. Shipping Costs
Shipping costs are non-refundable. If you receive a refund, the cost of return shipping will be deducted from your refund.
6. Exchanges
If you wish to exchange an item, please contact our customer support. You will be responsible for the return shipping costs, and we will cover the shipping costs of the replacement item.
7. Damaged or Defective Items
If you received a damaged or defective product, please contact us immediately for assistance. We will work with you to resolve the issue promptly.
8. Contact Information
If you have any questions about our Refund Policy, please contact us at [[email protected]].
Important Note: This Return & Refund Policy is applied only for Orders invoiced VIA UGE Electronics, and regarding any Orders has been invoiced VIA any Other Vendor you can check the Return & Refund Policy of this Vendor VIA the Vendor Stroe Page, and it’s not our responsibility for any issue between you and the Vendor.
Product Enquiry
Related products
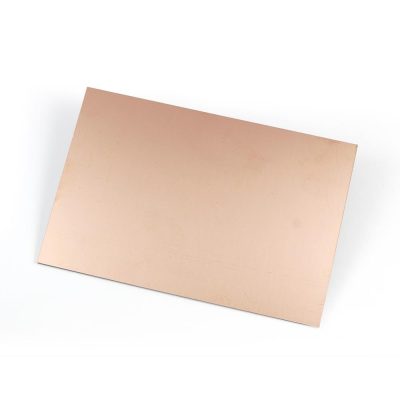
PCB FR2 Copper Board 10×15 Single Side
EGP 50.000 exc. vat Read more
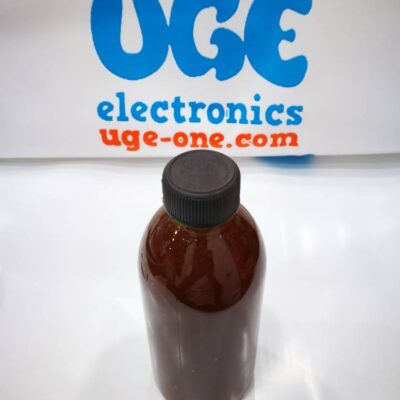
PCB Etching Acid FeCL3 Solution 250ml
EGP 30.000 exc. vat Read more
Mini PCB Electric Drill/Grinder Set
EGP 170.000 exc. vat Read more
Reviews
There are no reviews yet.