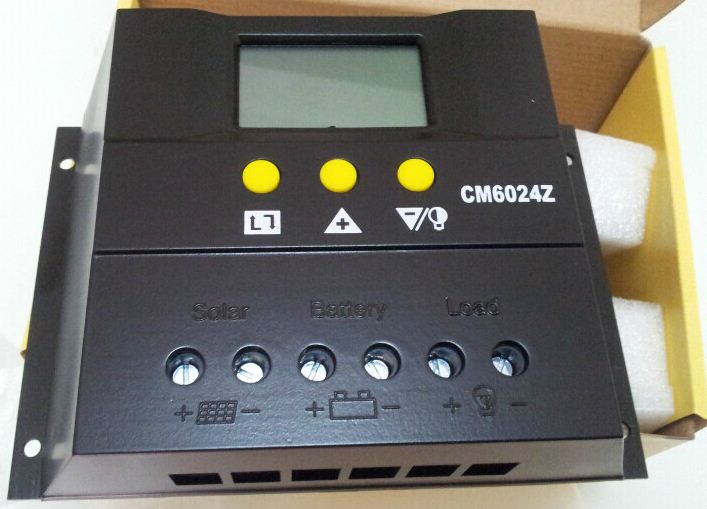
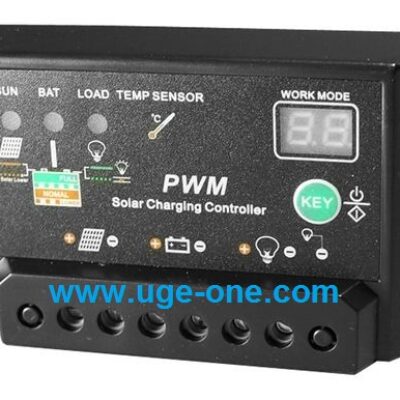
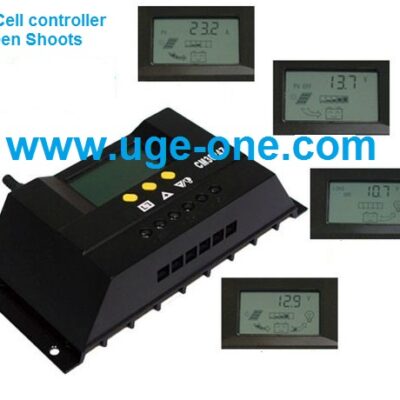
| 1. Prepare relevant tools and cables. We recommend that you matching the right cable, to ensure that the current density <4A / mm2 this will help to reduce the line pressure drop. Recommended: 50A with 16mm2 cable.Check the installation site meets the relevant safety regulations, avoid damp, dusty, there is a flammable and corrosive gas installation using the controller. 2. The solar controller is fixedly mounted to the vertical plane, installation aperture and hole spacing see parameter table. To ensure good thermal controller condition, 10cm below each reserve space on the controller. 3 as “the right of the installation wiring diagram” shown in sequence to load, batteries, solar panels connected to the controller up, pay attention to ensure that the load, battery, solar panel polarity consistent with the controller. 4. The external temperature sensor probe is inserted into the left side of the controller temperature probe interface, and battery temperature probe placed in similar places. (Otherwise, the controller will control parameters for each wrong temperature compensation.) 5. As with remote monitoring capabilities, please insert the supplied communication cable to the communications port and the other end connected to the controller to the right of the host computer. |






Reviews
There are no reviews yet.