uge one
All Departments
  • By UGE
  • PCB designs
  • STC microcontroller Projects
  • Arduino Based Projects
  • Latest Products
  • Components
  • Newly Arrived
  • Resistors
  • 3D Printer Accessories Egypt
  • Capacitors
  • Diodes & Zener Diodes
  • Integrated Circuits (ICs)
  • 3D Printer Extruder & Accessories
  • CNC Mechanics & Electronics
  • Coils
  • Microcontrollers
  • Connectors
  • Test Equipment
  • Home
  • Shop
    • Shop
    • Shop By Category
    • Order Tracking
    • My account
    • Cart
    • Checkout
  • By UGE
  • Schneider UPS
  • Our Services
    • PCB Services
  • UGE APP
  • Blog
  • Contact

Copyright 2014-2026 © UGE Electronics. All right reserved.

  • Order Tracking
  • English
    • English
  • EGP
    • USD
UGE Electronics Egypt
Sign In
Account
0
Total
EGP 0.000
No products in the cart.
Free Shipping on All Orders Over $75
All Departments
  • By UGE
  • PCB designs
  • STC microcontroller Projects
  • Arduino Based Projects
  • Latest Products
  • Components
  • Newly Arrived
  • Resistors
  • 3D Printer Accessories Egypt
  • Capacitors
  • Diodes & Zener Diodes
  • Integrated Circuits (ICs)
  • 3D Printer Extruder & Accessories
  • CNC Mechanics & Electronics
  • Coils
  • Microcontrollers
  • Connectors
  • Test Equipment
  • Home
  • Shop
    • Shop
    • Shop By Category
    • Order Tracking
    • My account
    • Cart
    • Checkout
  • By UGE
  • Schneider UPS
  • Our Services
    • PCB Services
  • UGE APP
  • Blog
  • Contact
Only this weekend
Super Discount

Items on sale this week

Top picks this week. Up to 50% off the best selling products.

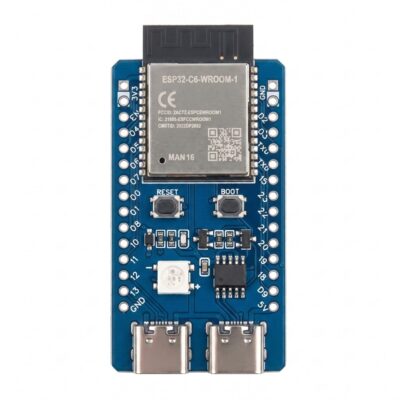
ESP32-C6 DevKit Development Board

ESP32-C6 DevKit Development Board

EGP 675.000
Only 3 left in stock
Ventis™ MX4 Multi-Gas O₂ CO H₂S LEL Monitor

Ventis™ MX4 Multi-Gas O₂ CO H₂S LEL Monitor

EGP 55,405.000
Only 1 left in stock
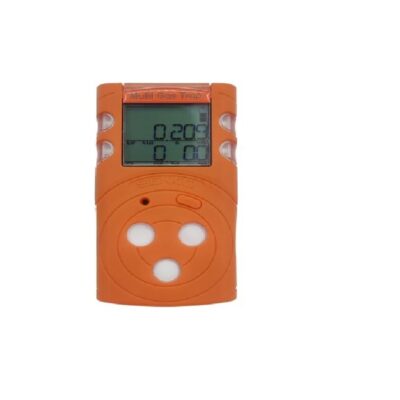
Senko MGT‑N Multi Gas Detector

Senko MGT‑N Multi Gas Detector

EGP 49,561.000
Only 1 left in stock
Ultracell UXL 12V 65Ah Rechargeable Sealed Lead Acid Battery

Ultracell UXL 12V 65Ah Rechargeable Sealed Lead Acid Battery

EGP 8,300.000 Original price was: EGP 8,300.000.EGP 7,700.000Current price is: EGP 7,700.000.
Weight
Fluke 572-2 High Temperature Infrared Thermometer

Fluke 572-2 High Temperature Infrared Thermometer

EGP 89,700.000
Only 1 left in stock
CH32X035G8U6 USB-PD 32-bit RISC-V microcontroller Development Board

CH32X035G8U6 USB-PD 32-bit RISC-V microcontroller Development Board

EGP 195.000
Only 2 left in stock
  • Order Tracking
  • English
    • English
  • EGP
    • USD
UGE Electronics Egypt
0
Total
EGP 0.000
No products in the cart.
Free Shipping on All Orders Over $75

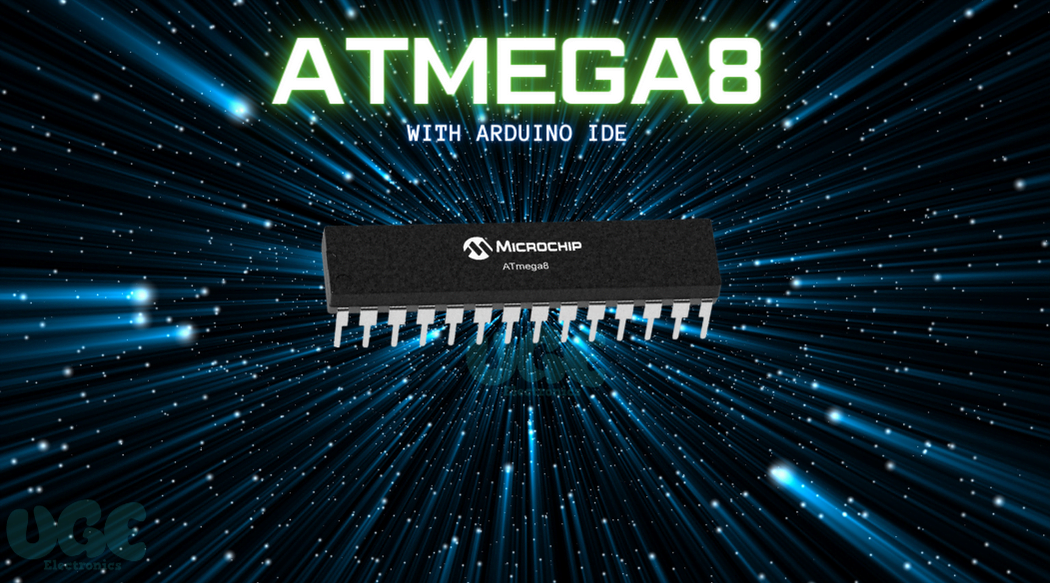
Adding ATMEGA8 with Arduino IDE

October 17, 2023 Arduino Based Projects arduino, atmega8, circuit, diy, embedded, IDE, projects
Adding ATMEGA8 with Arduino IDE

In this tutorial you will learn how to program an ATmega8 using Arduino IDE. It’s not restricted to ATmega8 only and can be generalized to other cores which are available at MCUDude’s GitHub. It consists of two parts. In part one, Installing Arduino bootloader on ATmega8 is described. Part two shows how to program an ATmega8 using Arduino IDE and a USB to TTL convertor.

Part one: Installing Arduino Bootloader

In this part, we add ATmega8 support to Arduino IDE. Then we set up the breadboard and connect ATmega8 to Arduino UNO board.

Step One: Adding ATmega8 Support to Arduino IDE Using Board Manager

There are different types of cores available on MCUDude’s GitHub repository. MiniCore is used for ATmega8 microcontroller. Supported microcontrollers in this core are:

  • ATmega8
  • ATmega48
  • ATmega88
  • ATmega168
  • ATmega328

Follow steps below to install MiniCore in your Arduino IDE.

  • In File menu, click on Preferences.
  • Now in Additional Boards Manger URLs, enter the following URL:

https://mcudude.github.io/MiniCore/package_MCUdude_MiniCore_index.json

  • Go to Tools menu and then select Board > Boards Manager
  • In Boards Manager window, search for MiniCore and then install the latest version.

The above steps are shown graphically here:

ATmega8 pinout is shown in the following figure.

Step Two: Programming Arduino as an ISP (In-system programming)

To burn Arduino bootloader, we need to make our Arduino UNO as an ISP. There’s a sketch named ArduinoISP in the built-in examples of Arduino IDE. Follow these steps to program your Arduino UNO as an ISP.

  • Open File > Examples > 11.ArduinoISP > ArduinoISP
  • Upload this sketch to your Arduino UNO.


Step Three: Burning Bootloader

  • Connect Arduino to ATmega8 as below.

Arduino ———-ATmega8

SCK / Pin 13 ———-SCK / PB5

MISO / Pin 12 ———-MISO / PB4

MOSI / Pin 11 ———-MOSI / PB3

SSN / Pin 10 ———-RESET

  • Go to Tools > Board and select ATmega8. You can also select your clock type and frequency in Tools menu.
  • Select programmer type in Tools > Programmer: as “Arduino as ISP”.
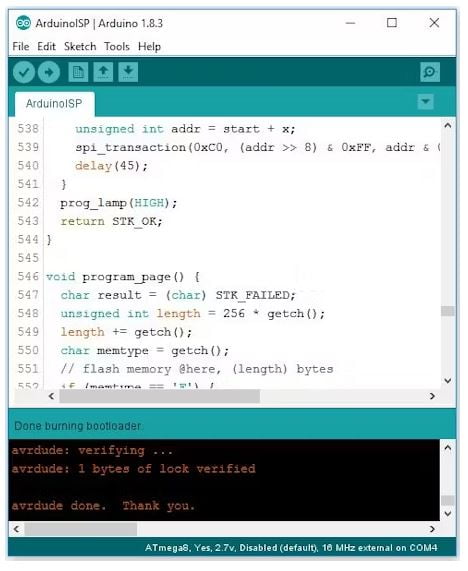
  • Now in Tools menu, click on the Burn Bootloader.

If the operation was successful, it says “Done burning bootloader”. Congratulations! You have done it.


Part Two: Programming ATmega8 Using Arduino IDE and a USB to TTL Convertor

Here we have an ATmega8 with Arduino bootloader. As you know, there is a USB to TTL convertor on all Arduino boards. It acts as a bridge between microcontroller and Arduino IDE. We use CH340 USB to TTL convertor module to upload the sketch to ATmega8.


Step Four: Setting up the Connections

Connect components as shown below.

CH340 ———- ATmega8

VCC ———- VCC

GND ———- GND

Tx ———- RX / PD0

Rx ———- Tx / PD1

Step Five: Uploading the Sketch to ATmega8

Press and hold the reset pushbutton. Now click on upload in IDE. Hold the pushbutton until it says “Uploading…”on the IDE status bar. Release the button after uploading process begins. It’s because microcontroller should be in the RESET state when the uploading process starts.

Note: If the process was unsuccessful, place a 100nF capacitor at Vcc and GND of microcontroller as close as possible.

Note: Some USB to TTL convertor modules have a pin named DTR. If yours has this pin too, you can connect it to the RESET pin of ATmega8 and there’s no need to use the pushbutton to manually reset the microcontroller.

You must be logged in to post a comment.

Recent Posts

  • IR2104 Detailed Explanation
  • Make your own Arduino on Breadboard
  • DC Power Filter like a Professional Part1
  • IC Chip layout tips
  • Adding ATMEGA8 with Arduino IDE

Recent Comments

No comments to show.

Categories

  • Arduino Based Projects
  • DIY Electronics Circuits
  • PCB designs

Tags

arduino atmega8 circuit dc diy driver embedded filter IDE IR2104 loyout motor pcb projects tips

Popular Posts

  • IR2104 Detailed Explanation
    DIY Electronics Circuits

    IR2104 Detailed Explanation

  • DC Power Filter like a Professional Part1
    PCB designs

    DC Power Filter like a Professional Part1

  • Adding ATMEGA8 with Arduino IDE
    Arduino Based Projects

    Adding ATMEGA8 with Arduino IDE

Sign Up For Newsletters

Get E-mail updates about our latest shop and special offers.

Call Shobra Branch

  • Whatsapp Shobra
  • Shipping Only
  • [email protected]
  • Don’t VISIT # 26 El-Menoufy St. Rod El Farag Metro Station, Shobra Misr, Cairo , Egypt

Call Heliopolis Branch

  • WhatsApp Heliopolis
  • Land Line: 02-24190176
  • [email protected]
  • Direct Sales: # 28 Mahmoud Hasan St., – behind CIB Bank From Merghany St., – Near Girls College Metro Station Heliopolis, Cairo

Let Us Help You

  • About Us
  • Your Orders
  • Contact
  • Delivery
  • Privacy Policy
  • Terms and Conditions
UGE Electronics Egypt

Copyright 2014-2026 © UGE Electronics. All right reserved.

payment
  • Store
  • Search
  • Account
  • Categories